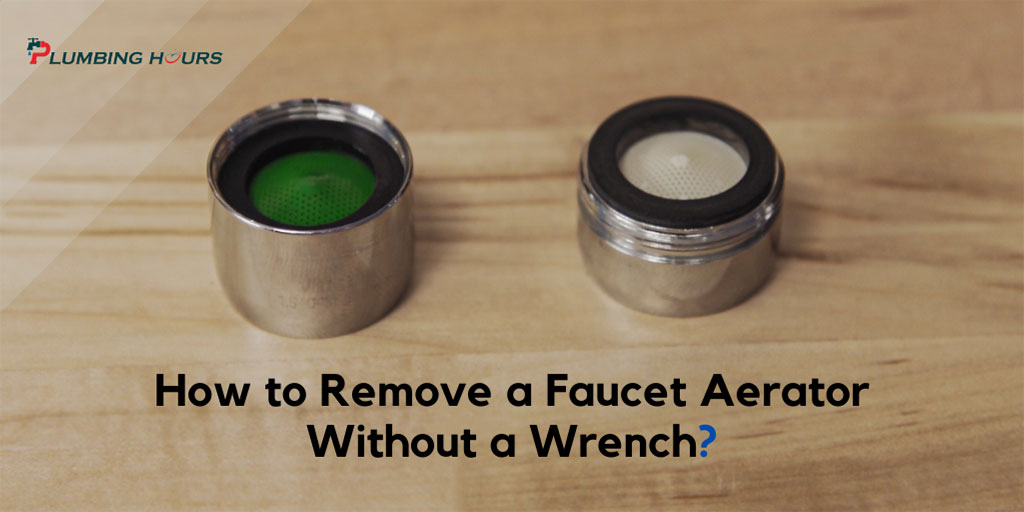
A faucet aerator is a nifty device responsible for keeping the water flow in check through the faucet. Over time, the aerator becomes clogged because of the mineral deposits that come with the water. In this article, we will discuss how to remove a faucet aerator without a wrench so that you can clean it or replace it without any hassle.
Removing aerator from faucet can be difficult if you don’t have the right tools within your reach. Here, we will discuss some DIY hacks that will show you how to remove the aerator from a faucet in the simplest way possible.
So, give this a read and learn how easy it is to deal with a subpar faucet aerator.
How To Remove A Faucet Aerator Without Any Tools?
Wondering how to remove a faucet aerator without a wrench? The first thing you need to attempt is to use your bare hands. Take a towel and wipe your hands dry. Make sure the faucet is dry as well. In doing so, you can expect a tighter grasp on the faucet. Turn the faucet aerator counterclockwise to take it off.
If you still have trouble gripping the faucet, we would recommend wearing a pair of rubber gloves. No rubber gloves nearby? Then, use a piece of dry cloth instead. Usually, the aerator is screwed on manually. So, it should come off similarly too. However, if the aerator refuses to budge, you should contemplate a different route.
How To Remove Hidden Faucet Aerator?
A hidden aerator, aka a recessed aerator, comes attached to the end of the spout. The aerator manufacturer provides a key which you can use to take it off. What if you can’t find the faucet aerator removal tool? It’s still possible to remove hidden aerator without key. Here are some techniques that you can deploy if you don’t have an aerator key.
To remove aerator without key, you can first try using your hands. If the aerator is relatively new, you should have no trouble removing it with your hands. For this reason, an on-hand should be your first step in trying to remove recessed aerator without key. You can use rubber gloves or dry cloth for better grip.
Once you are sure that it’s impossible to do it with your hands, you would have to take the help of tools. Since you don’t have the key, you will have to improvise. A screwdriver that can fit within the space between aerator grooves would be the perfect pick for this purpose. Slip it in and push to see whether the aerator gets displaced or not.
If it’s still resilient, then you would need to put in some extra force. However, you also need to be careful because too much pressure can end up damaging the aerator (if you only want to remove it for cleaning). Grab a hammer and gently tap the screwdriver a couple of times. The aerator should come off.
How To Remove Aerator Inside Metal Housing?
Not all faucets have hidden aerators. In some faucets, a metal housing holds the aerator. If you are not sure what type of aerator your faucet has, look for a box-like structure on your faucet. If there is one, your aerator would be a housed aerator. Relying on your hands might not be a practical move considering these aerators are more difficult to remove.
A pair of pliers would be of great use here. Take a piece of fabric and wrap the housing with it. This would save it from sustaining damage from the pliers. Now, take the pliers and grab the flat edges of the faucet with its jaws. Maintain a stable hold and slowly turn the pliers against the clock. In doing so, the housing will get loose.
When the housing is loose enough, you can remove it with your hands. Once the housing is off, you would see the aerator. Slowly pull out the rubber seal and then extract the aerator. Even if you intend to replace the aerator, we would advise you to be more cautious. Otherwise, you might damage the metal casing or the rubber seal inside it.
In some cases, your faucet might have a round-shaped housing without any flat edges. Try to unfasten it with your hands. Round casings are easier to remove by hand than flat-edged ones. Using pliers is the alternative modus operandi. Lock the jaws over a cloth-covered housing and turn it anti-clockwise. After it comes off, bring out the aerator carefully.
How To Remove A Stuck Faucet Aerator?

An aerator that hasn’t been replaced in a while might get stuck on the faucet because of excessive sediment accumulation. Apart from contaminating the water stream coming out of the tap, amassing minerals makes removing the aerator incredibly difficult. If you have been struggling to take the aerator off, a cluster of minerals is the likeliest culprit to blame.
An aerator could be overly resilient if there is too much sediment buildup. In extreme cases, you can’t even get desired results with tools. So, you have to address the core issue before trying to remove the faucet again. Remember, exerting too much pressure with tools might damage the faucet and the aerator. So, you have to rethink your strategy.
First, choose an effective cleaning solution. White vinegar, for example, can be an excellent choice in this regard. Then, steep a piece of cloth in white vinegar and tie it around the aerator area. Leave it for 60 minutes, then try to unscrew it. If you still have problems removing it, leave the cloth for 10/15 minutes more.
The cleaning solution reacts with the minerals and dissolves them over time. Usually, an hour should be enough for the cleaning process to finish. Afterward, try to undo the aerator or the casing with pliers. Don’t use your hands because the cleaning solution might harm your skin. Put on gloves for protection.
A substitute method would be to apply heat on the region, wait for it to cool down, and then try to unscrew with appropriate tools. Heat expands the interatomic space between the cluster molecules and eventually disintegrates the mass. However, keep in mind that overheating could ruin the faucet.
6 Tips From Professionals
1. Remove A Faucet Aerator With Pliers
You can learn how to remove faucet aerator with a pair of pliers without breaking a sweat. Take note that the aerator has to be in good condition. Otherwise, it might break off. If you are looking to change it for good, then that won’t matter anyway. But if you want to bring the aerator out intact, make sure it’s in good shape before deploying the pliers.
Wrap the aerator with a piece of rag beforehand to boost your grip. Position the aerator between the jaws, then put a firm bite on it. Remember, you are targeting the aerator instead of the spout. So, only the aerator has to be in the middle of the jaws. After you secure a grip, turn the pliers anticlockwise. The aerator will loosen and be ready for extraction.
2. Remove A Faucet Aerator With A Rubber Wrench
Yes, the article title reads ‘’how to remove a faucet aerator without a wrench’’. But, what if you do have a capable piece of rubber wrench lying in your toolbox, but you are not sure how to use it to remove the stubborn aerator that has been bugging you for days? Fear not! We will give you a rundown on that too!
Rubber has a superb grip, so it’s unnecessary to use an intermediary layer of clothing when using a rubber wrench to unscrew an aerator. Since the rubber is soft, it won’t harm the faucet surface either. Place the wrench on the aerator and continue turning anti-clockwise till it falls off.
3. Remove A Faucet Aerator With Heat
Heat can be a functioning alternative to deal with unyielding aerators. However, don’t expose the aerator to fire. Use a heat gun or hairdryer instead. This would prevent the blackening of the metal but still heat up the aerator rapidly. Medium heat is enough to relax the aerator. Then, you can take care of the rest using pliers or a wrench.
Never try to pull this off on plastic-made faucets and aerators. Plastic has a lower melting point than metals. So, heating could cause irreversible damage to plastic materials. Exercise caution when you are applying this technique on metal aerators too. Don’t touch the aerator with your hand unless you want your fingers to burn.
4. Remove A Faucet Aerator With Vinegar
Rust and mineral deposits can make the aerator stuck. How to remove the aerator from a faucet in such a situation? A household kitchen essential like vinegar can bail out of this trouble. In chemistry textbooks, vinegar is known as acetic acid. Since it’s an acid, it shows a high degree of eagerness to participate in chemical reactions.
For this reason, vinegar can be a fantastic choice to get rid of rust and sediment. It aggressively takes part in reactions with these and breaks them up. Enclose the aerator with a vinegar-soaked piece of cloth. Wait for an hour, and then try to remove the aerator. It should be way easier to work it now.
5. Remove A Faucet Aerator With WD40
WD 40 is a famous mix of lubricants that is known for its anti-rust properties. You can also use it to remove aerator from kitchen faucet. Spray some WD40 around the aerator edges. Wait for a couple of minutes. Then, thoroughly wipe the aerator. Afterward, give it a twist with pliers or a wrench. You should be able to work it effortlessly now.
6. Removing A Tamper Proof Aerator Without Tool
A tamper-proof aerator is advertised as a non-removable faucet aerator without the key. But, you can still remove it even if you don’t have the key. A simple carve fork can match notches of a tamper-proof aerator. When its prongs fit the ridges, slowly turn counter-clockwise and take the aerator off when it’s loose enough.
Related post for you:
How To Tighten Kitchen Faucet Nut Under The Sink?
How to Connect Two Faucet Supply Lines Together?
Best Inexpensive Bathroom Faucets
Frequently Asked Question
Q. How To Clean The Faucet Aerator Without Removing It?
You don’t necessarily have to remove the faucet to give it a good wash. You can clear up the sediment mass and rust by applying a cleaning agent like vinegar. Soak a rag in vinegar and tie it around the aerator.
The acidic nature of vinegar will make it actively attack the grimy elements. Within an hour or so, the reaction will disperse dirt and make the aerator as clean as new. There would be no need to take out the aerator from the faucet to complete this procedure. It will be a thorough cleanse.
Final Say
If you have been paying attention, then you should know by now how to remove a faucet aerator without a wrench. It’s a useful DIY skill to pick up that could save you the trouble of calling a plumber for a simple faucet maintenance task.
4 thoughts on “How to Remove a Faucet Aerator Without a Wrench?”