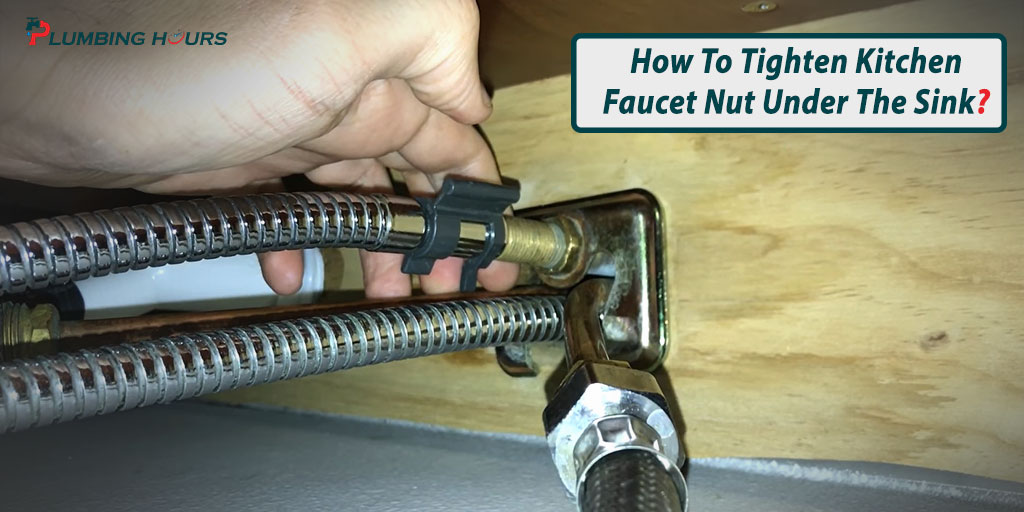
Plumbing problems are a household nuisance we have to deal with frequently. Unfortunately, plumbers don’t come cheap. Even something as simple as a loose kitchen faucet can set you up for a hefty bill if you seek professional help. In this article, we will show you how to tighten kitchen faucet nut under the sink. Learning this basic plumbing DIY can prove quite fruitful.
The nuts secure the sink’s position. Tightening the sink could be a bit tricky when you mount the sink in place. There aren’t a lot of space underneath, so you would have to use a proper tool to tighten kitchen faucet that can operate in cramped areas. Using a basin wrench, for example, can be an effective approach in this regard. Let’s take a look at the required tools we’ll need to tighten kitchen faucet nut:
Tools You Need
- A headlamp.
- A pair of adjustable pliers.
- A basin wrench.
- Safety Goggles.
4 Steps For Tightening Kitchen Faucet Nuts Under A Sink
Step 1. Empty The Shelves Below The Sink To Maximize Your Working Space
The first thing you need to do is to empty the cabinets right below the sink. Even if you know how to tighten kitchen faucet nut under the sink, you won’t be able to do a good job unless you have adequate operating space. Clearing out the shelves will give you the chance to get under the sink and fix it the right way.
If the sink P trap keeps getting in your way, you’d have to take care of it using a pair of adjustable pliers. Undo the nuts that connect it to the sink and remove the whole thing. For better comfort, you can lay down a towel on the floor and rest your head there while you are working.
Step 2. Ensure Proper Lighting
You need ample visibility whether you want to remove kitchen faucet nut or tighten it. Naturally, you won’t find much light underneath the sink, so you would have to get some help. You could make do with a lamp or a torch in this situation, but it won’t be enough in some cases.
A headlamp would be the best option in this case. It would keep your hands free and illuminate the target area efficiently. Knowing how to fix a loose faucet won’t do you much good if you can’t arrange sufficient lighting. So, make sure the headlight you choose provides enough brightness and has decent battery life.
Step 3. Put The Faucet On The Right Position
Take the faucet and insert it into the faucet hole on the sink. Then, align the faucet with the backside wall. When you are done positioning the faucet, screw in the kitchen faucet mounting nut. Doing this alone would be difficult. So, we would recommend getting somebody to hold the sink for you as you fasten the nut.
Why would you care about the proper alignment of the faucet? First of all, an unaligned faucet would look odd. Also, it would compromise the performance of the faucet. The water will fall outside the sink, and it would be tough to do your dishes or even wash your hands. So, the perfect positioning of the faucet is a must.
Step 4. Tighten The Nut Using A Basin Wrench
You can tighten the nut with your hands, but you need to use a basin wrench for the best results. You take the wrench, put the nut between its jaws, and then turn it clockwise. Once you feel the nut has gotten tight enough, stop turning it. Exerting too much force could cause irreparable damage to the nut. A basin wrench is a simple tool, and it’s highly effective in sink installations. In some instances, however, the basin wrench might fall short. Many sinks rely on hexagonal connectors for faucet connection. If your sink features similar bolts, you would need a ratcheting socket instead of a basin wrench.
How To Use A Basin Wrench?
Once you get the hold of it, a basin wrench would feel pretty easy to use. For newbies, however, a basin wrench might appear a bit daunting because of its unorthodox design. Never picked up a basin wrench before? No worries, we will show you to use a basin wrench and make the best out of it.
A basin wrench is a plumbing kit essential for both professionals and DIY-ers. Its application is limited in the sense it only removes a faucet and vice-versa. It’s a wrench for tight spaces under the sink. Since you can only reach the nuts on the underside of the sinks, regular wrenches will do you no good. You won’t get enough space to maneuver an ordinary wrench.
Here’s where a basin wrench comes in. A basin wrench has a rotating gripper that sits on the edge of a long handle. This particular design attribute makes it capable of going to hard-to-access areas of the sink. Therefore, you can use a basin wrench to both tighten and loosen nuts behind and under the sink.
Follow these steps to use a basin wrench successfully:
- Place the head of the wrench in such a position that it is in a straight line with the rest of its body.
- If you put the head backward it will not be able to have a strong grasp on the nut. It will slip out of position. If that happens, try the other way.
- The T-bar on the shaft dictates the turning direction of the head. If you want to tighten the nut, turn it clockwise. For unscrewing it, turn anti-clockwise.
For rusty nuts, put on some penetrating solvent so that the wrench clamps can inflict a strong bite.
What To Use An Alternative To A Wrench?
Now you know how to tighten kitchen faucet nut under the sink with a basin wrench. But what if you don’t have a basin wrench or can’t find it? Thankfully, there are some backup options that you can resort to if you don’t have access to a basin wrench.
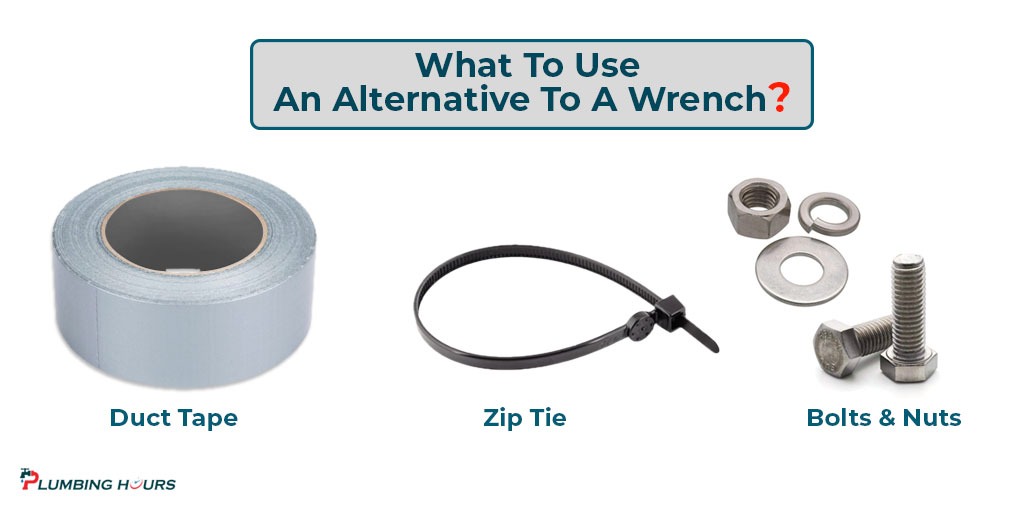
Duct Tape
Duct tapes are so versatile that you keep on finding new uses for them. Today, you will discover another utility of duct tapes, tightening sink nuts. Find the nut, screw it in with your hand as much as you can, and then tighten it even further using a piece of duct tape. Yes, it’s as simple as that!
Begin with a piece of tape that measures around 12 inches. Wrap it around the nut and then do the same with another 12-inch section. A part of tape should extend like a tail. Grab it, and keep on twisting it clockwise. Continue doing this until you feel that the nut has reached maximum tightness.
Zip Tie
Zip ties are another household item that can substitute a basin wrench. You might have never thought of it, but it’s very convincing as a makeshift wrench. Place the zip tie around the nut and tie its upper portion to the nut. The rest of it will remain hanging. You can grab the hanging part and revolve it in the direction you need to loosen or tighten the nut.
Other Bolts & Nuts
One nut and one bolt; that’s all you need to engineer a wrench out of nowhere. Take a nut and connect it with a bolt. Then, place it on the sink nut so that the bolt thread touches the nut. The rest is easy! Turn the nut in the right direction to get desired results. Don’t stop until the nut can be budged no more.
Also, you can have a look
How to Remove a Faucet Aerator Without a Wrench?
How to Tighten a Loose Moen Kitchen Faucet Base?
Best Brushed Nickel Kitchen Faucets
Final Say
Even if you don’t mind spending money on commercial plumbers, you need to learn elementary skills like how to tighten kitchen faucet nut under sink. Sometimes, you might need to deal with a plumbing situation immediately without the opportunity to call for help. Reading this article should prepare you for such a situation.
2 thoughts on “How To Tighten Kitchen Faucet Nut Under The Sink?”