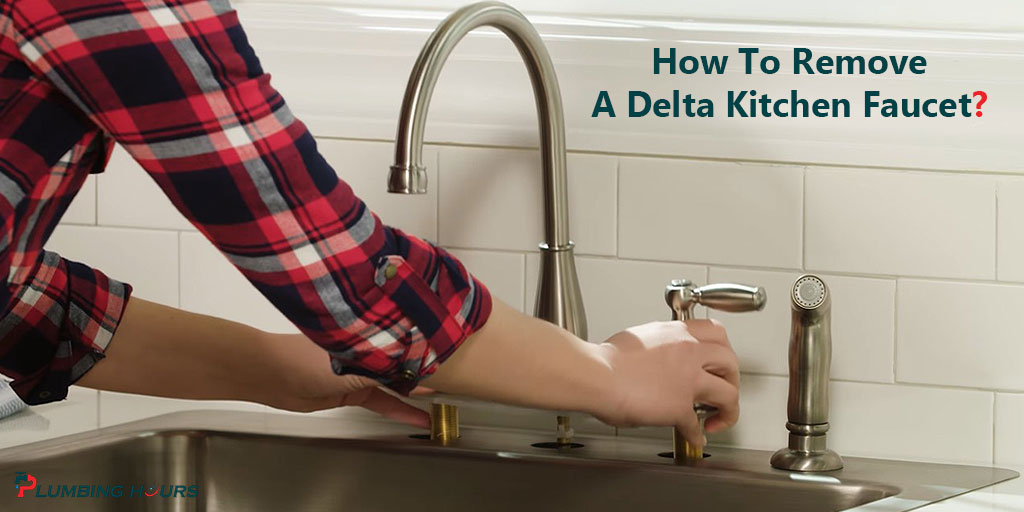
Removing a Delta kitchen faucet can be a bit tricky for beginners. If you don’t have enough plumbing experience, you might face some challenges trying to uninstall one. Here we will discuss how to remove a Delta kitchen faucet the right way. This is a comprehensive guideline for how to remove Delta kitchen faucet.
Delta is a premium kitchen and bathroom accessory brand that has been around for decades. The company is famous for its top-of-the-line faucets that would satisfy the most nit-picky house owners. However, after a certain usage period, you would have to fix or replace it. Knowing how to remove Delta kitchen faucet, you can remedy the situation by yourself.
How To Remove A Delta Single Handle Kitchen Faucet?
Delta has a range of offerings in their faucet line, and the Delta single handle model is the simplest of them all. Regardless of its simplicity, the Delta single handle faucet is extremely heavy-duty and functional. It’s pretty straightforward to install and remove. Once you get the hang of it, you can do most of the maintenance without professional help.
Because of its unique design, the single handle kitchen faucet has a distinct removal process. For that reason, just learning how to remove a Delta kitchen faucet might not be enough. You would have to specifically know how to remove a Delta single handle kitchen faucet.
Therefore, we will tell you how to remove the single handle kitchen faucet first.
Step 1. Cut Off The Water Supply
The first step you should take is to stop the water supply for a successful and uncomplicated Delta kitchen faucet removal. If you have both hot and cold water access to your kitchen, you would have to turn off both valves. Got no idea where to look for these valves? Shut off the main water supply, then.
Now, turn on the tap so that any remaining water comes out. Once the water stops coming out through the faucet, proceed to the next step. This is applicable not for only repairing Delta kitchen faucets. Before attempting any plumbing DIY tricks, it’s better to turn off the water supply. In doing so, you can lower the risk of a flooded kitchen or bathroom floor.
Step 2. Remove Hoses From The Faucet
The faucet links with two supply hoses beneath the sink for providing streams of hot and cold water. Disconnect these hoses by undoing the nuts that attach them to the sink. A small portion of thread separates the two nuts. Unscrew the upper one before moving on to the one that sits below. Secure the second nut with another wrench as you work the first one.
Step 3. Take Off The Retaining Plate Or Nuts
As the name implies, retaining plates or nuts retain or secure the faucet to the sink. To remove a kitchen faucet, you have to undo the retaining mechanism. Delta single handle faucets usually come with retaining nuts rather than plates. Retaining plates, however, are quite easy to detach. A flathead screwdriver is all you need to get the plate out of the way.
Retaining nuts, on the other hand, is a bit tougher to handle. They offer more stability. Therefore, they are more difficult to remove. A basin wrench would come in handy to undo nuts. If you have trouble removing old kitchen faucet, you can try some penetrating oil to loosen the nuts.
Step 4. Extract The Faucet
When the nuts are off, you can pull out the faucet from the kitchen sink. Grab it with your hand and lift it out. The faucet could be sharp-edged because of corrosion and mineral deposit. So, avoid touching the edges. If the faucet pipe doesn’t come out, grab the faucet with a pair of pliers to apply a greater pulling force.
Other Helpful Tips
- If you need to use pliers, wrap some tape around its jaws. The tape coating would prevent the abrasive pliers jaws from coming into direct contact with the faucet surface.
- Use proper Delta kitchen faucet removal tool. Substandard equipment can damage the faucet.
How To Remove A Delta Touch Kitchen Faucet?
How to replace a Delta kitchen faucet that features a touch function? Delta touch faucets are faucets that will spark to life as soon as you touch the faucet. Similarly, you can turn off the faucet by touching it anywhere. Are these faucets harder to remove because of their high sensitivity?
Is your Delta touch kitchen faucet dripping? Then, you need to see what’s causing it, and to do that, you have to take the faucet off the basin. Cutting off the water supply nullifies the likelihood of water continuing to rush throw the pipes as long as you keep on touching it. To be absolutely sure, however, you can take out the batteries or unplug the faucet.
Unlike the single handle Delta faucets, the Delta touch faucets have retainer plates. You can unscrew the plate instantly using a flathead screwdriver. Since the plate is off, the faucet should come off, too, right? Unfortunately, there is still a bit of work left to be done before pulling out the faucet.
In other faucets, the faucet has no other support than the nuts or retaining plates. In Delta touch faucets, the manufacturer used adhesive to make the faucet base stick to the sink. Spraying anti-adhesive solvent will make the adhesive layer go away in an instant. Alternatively, you can wriggle the faucet until it comes off.
How To Remove Delta Kitchen Faucet Head?

Poor flow of water is an alarming sign of clogged dirt and sediments in the faucet heads. Therefore, you should remove the faucet head every once in a while and clean it. Otherwise, your faucet would be a safe haven for harmful microbes. In the long run, this would cause a severe health hazard.
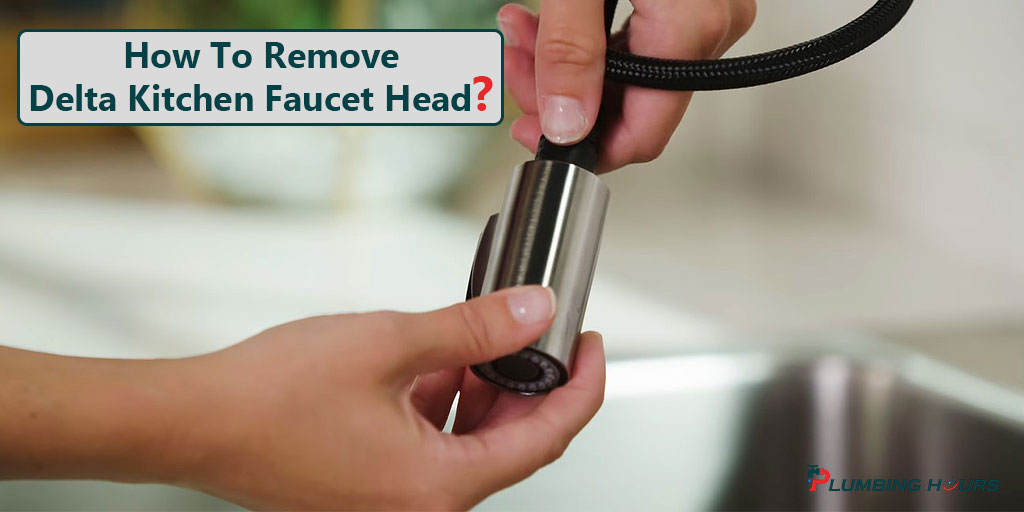
So, you have to know how to remove the Delta kitchen faucet head so that you can keep it dirt-free. Since these faucets have cached aerators, it won’t be easy removing them using standard wrenches. Upon buying a Delta faucet, you would get a hexagonal key that would enable you to disassemble the faucet head quickly.
Can’t find the key? Try opening it with your hands! Taking a closer look, you would discover the aerator has notches throughout its body. Once the cylindrical object inside the spout connects to the notches, the aerator comes off. By turning the aerator anti-clockwise, you can make this happen.
There are more stand-by options if your on-hand approach fails. A compact tongue and groove pliers might do the trick. Using a rubber wrench could be an even better decision because it has a tighter grip, and it won’t damage the faucet material. Leaving a pouch of vinegar tied to the faucet head could also prove useful since the vinegar will clear up rust and dirt.
You Can Also Have Look on :
How to Disconnect Sprayer Hose from Delta Faucet?
How To Remove Delta Shower Handle?
How to Take Apart a Grohe Bathroom Faucet?
How To Replace A Delta Kitchen Faucet?
Replacing Delta kitchen faucet isn’t much of a big challenge if you already know how to remove a delta kitchen faucet. You are already halfway there, the extra information you would need is how to install Delta kitchen faucet. So, let’s briefly revisit the removal process of Delta kitchen faucets before discussing installation.
In the beginning, you will have to close the water supply. Turning off the main water supply line is the best method to apply since it puts a halt to water supply through all valves. Next, take off the retainers. After that, carefully lift out the faucet. If you can’t bring out the faucet easily, take the help of pliers.
Now, let’s get to the installation part. When you are changing your kitchen faucet, you can choose a like-for-like replacement. Or, you can go with a different model. However, be mindful of the number of holes you have in your sink. A four-hole faucet won’t be compatible with a single-hole sink. However, higher sinkhole numbers won’t be a problem.
After removing the old faucet, clean the sinkhole with soap water, or vinegar. There could be dirt or adhesive on the holes, so clean them up before putting in a new faucet. Before starting the installation, make sure to go through the Delta faucets kitchen repair instructions. Not all faucets install the same way, so it’s best to know about the technicalities.
Usually, you have to put together the faucet first. Put the deck plate or trim ring in place. Insert the pipes that come from the base of the faucet into the sinkhole and lock the faucet in position. Fasten the nuts underneath the sink. Attach the hoses to the faucet and restore the water supply.
Final Say
The kitchen faucet is one of the most frequently used household units in any family. The heavy usage of faucets demands regular maintenance, and top-quality faucets like Delta are not an exception to this either. We hope this article has helped you learn how to remove a delta kitchen faucet easily.

3 thoughts on “How To Remove A Delta Kitchen Faucet?”